
How to Install Welded Wire Mesh Fence: A Practical Guide for Farms, Gardens, and Property Protection
Installing a welded wire mesh fence is one of the most practical and cost-effective ways to protect farmland, gardens, livestock areas, and construction sites. Compared with many other fencing systems, welded mesh fencing is relatively easy to install, durable in outdoor environments, and flexible enough to work in different terrain conditions.
For farmers, gardeners, and contractors, the biggest advantage of this type of fencing material is its balance between strength and affordability. The welded intersections create a stable grid structure that maintains its shape over time, while the galvanized coating protects the steel from rust and weather damage. Because of these characteristics, welded wire mesh fences are widely used around the world for animal enclosures, crop protection, security boundaries, and industrial partitions.
If you are planning to install a wire mesh fence for the first time, the process may seem complicated. In reality, with the right preparation and a few basic tools, the installation can be completed efficiently even for large areas. This guide will walk you through each stage of the process, from choosing the correct materials to installing the fence securely so it can last for many years.
Understanding Why Welded Wire Mesh Is Popular for Fencing
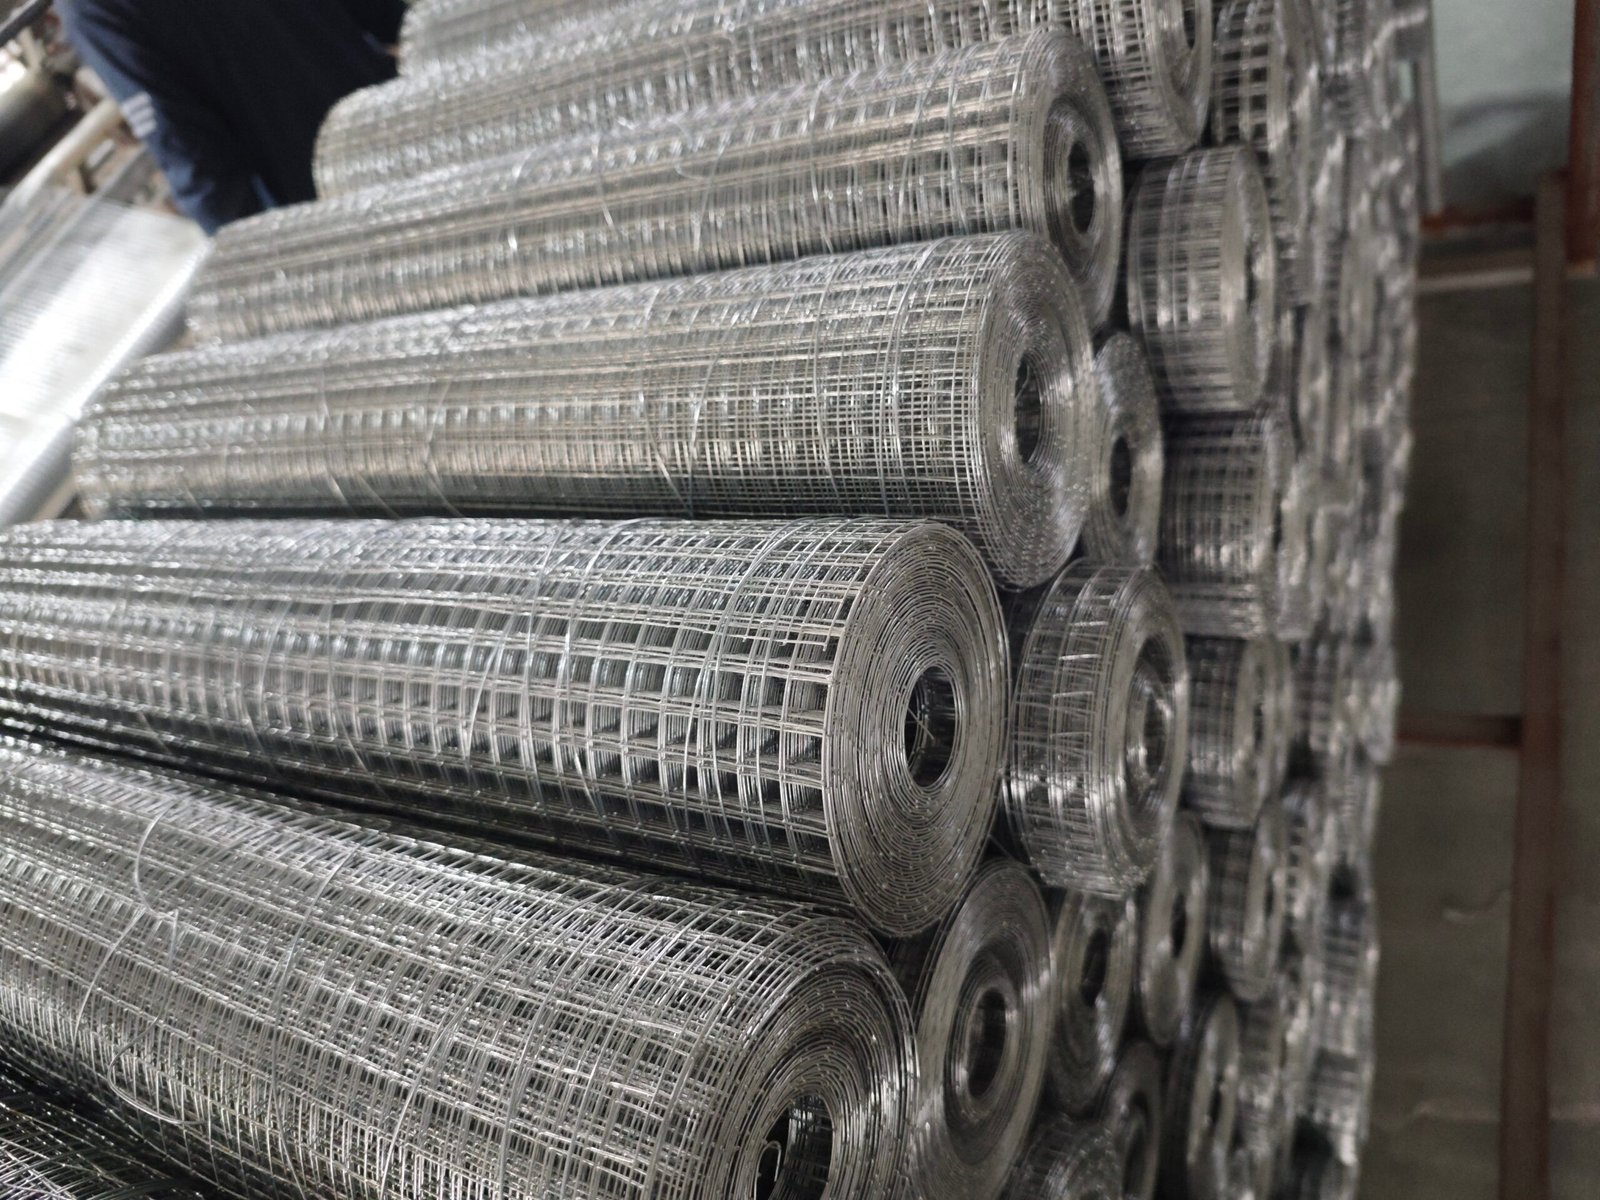
Before starting installation, it helps to understand why welded mesh fencing has become such a widely used solution in agriculture and construction. Unlike woven fencing materials, welded mesh is manufactured by electrically welding horizontal and vertical steel wires at each intersection point. This process creates a rigid and consistent grid pattern that provides better structural strength and prevents the fence from losing its shape.
Another important reason for its popularity is corrosion resistance. Most welded mesh products used outdoors are galvanized, which means the steel surface is coated with zinc to protect it from moisture and oxidation. This protective layer significantly increases the lifespan of the fence, especially in humid or rainy environments where untreated steel would quickly rust.
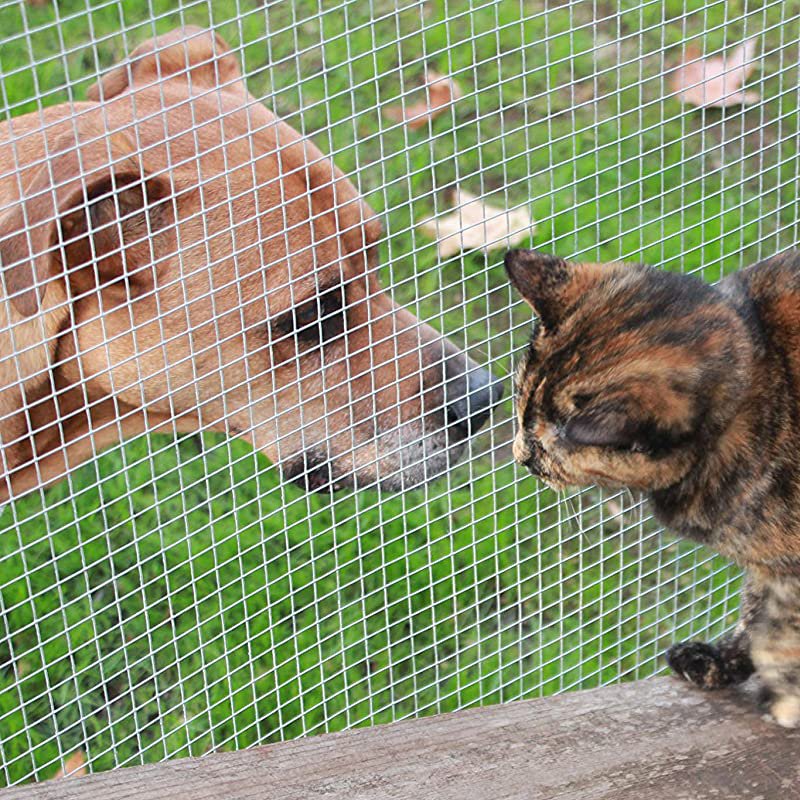
Because the mesh openings are uniform, the fencing provides both security and visibility. Farmers can easily monitor animals inside the enclosure, and property owners can maintain a clear view of their surroundings while still keeping unwanted animals or intruders out.
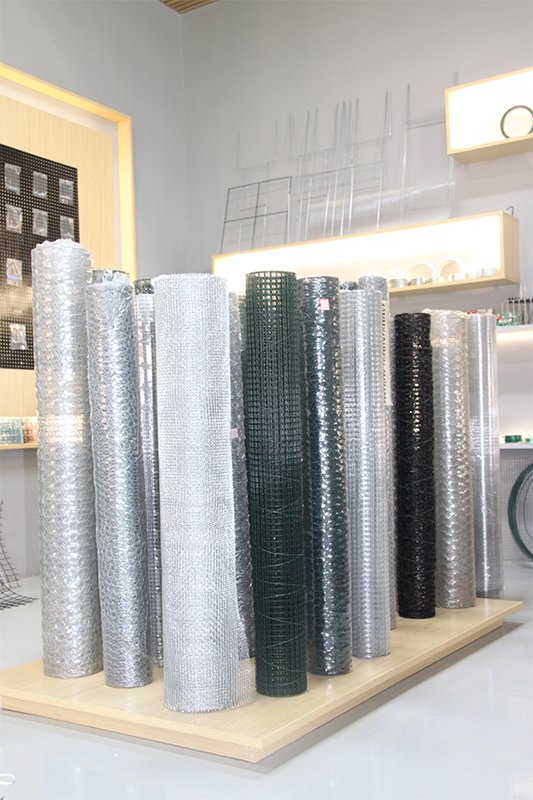
Many projects also combine welded mesh with other fencing materials. For example, poultry farms sometimes use hexagonal wire mesh netting near the bottom of the fence to prevent small animals from escaping, while security fences may add barbed wire fence price at the top for additional protection.
Planning Your Fence Layout Before Installation
Proper planning is one of the most important steps when installing any type of fencing system. A well-planned layout will save time, reduce material waste, and ensure the final structure is strong and stable.
Start by measuring the total length of the area that needs to be enclosed. Walk around the perimeter and mark the locations where fence posts will be installed. In most cases, posts are spaced between six and ten feet apart, depending on the terrain and the strength required. If the area is exposed to strong winds or heavy animal pressure, placing posts closer together will make the fence more durable.
Corner posts deserve special attention because they carry the highest tension when the mesh is stretched. These posts should be thicker and installed deeper into the ground than regular line posts. Many professional installers also add diagonal braces to reinforce corner structures and prevent movement over time.
At this stage, it is also helpful to decide where gates will be placed. Access points should be positioned in convenient locations for vehicles, farm equipment, or daily maintenance activities.
Tools and Materials You Will Need
One reason welded mesh fencing is so popular among farmers and property owners is that it does not require complex equipment to install. Most installations can be completed using simple tools that are commonly available in workshops or farm sheds.
Typical tools include wire cutters, pliers, a hammer, measuring tape, and a post driver or digging tool for installing fence posts. For larger projects, some installers also use a fence stretcher to tighten the mesh evenly along the fence line.
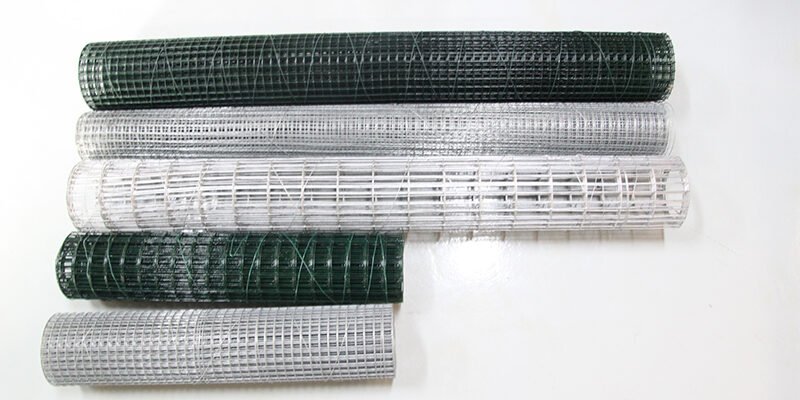
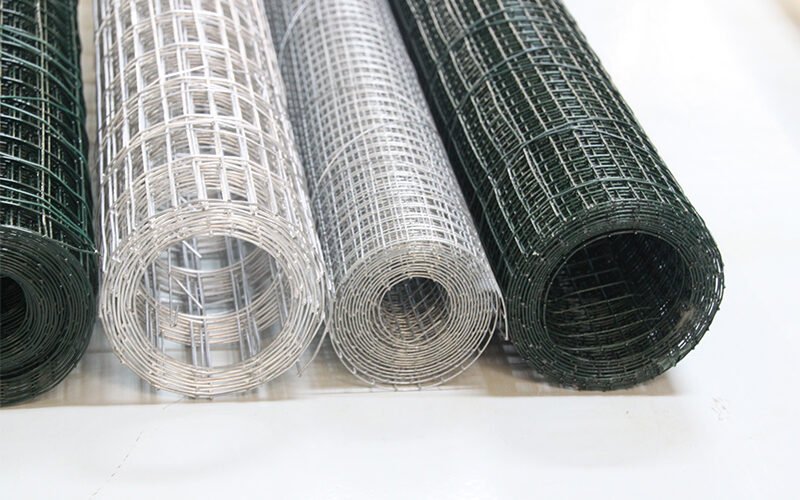
In terms of materials, the most important components are the welded mesh rolls or panels, fence posts, fastening clips or staples, and sometimes tension wire. Choosing high-quality materials is essential because the durability of the entire fence depends on them.
Many fencing systems use galvanized iron wire to secure the mesh to the posts. This wire is strong, flexible, and resistant to corrosion, making it ideal for outdoor installations.
Step 1 – Installing Fence Posts Securely
Fence posts form the foundation of the entire fencing system, so installing them correctly is critical. Begin by digging holes for each post along the planned fence line. The depth of each hole should generally be around one third of the total post height. For example, if the fence is six feet tall, the post should be buried at least two feet into the ground.
Once the holes are prepared, place the posts vertically and fill the holes with soil, gravel, or concrete depending on the level of stability required. Concrete is often recommended for corner posts and gate posts because it provides extra strength.
After installation, check that all posts are aligned properly along the fence line. Even small alignment errors can make it difficult to attach the mesh smoothly later.
Step 2 – Unrolling and Positioning the Mesh
Once the posts are firmly installed, the next step is to unroll the welded mesh along the fence line. This part of the process is easier when two people work together. One person can guide the roll while the other keeps the mesh aligned with the posts.
Lay the mesh along the ground next to the fence line and gradually lift it into position. Make sure the bottom edge of the mesh sits slightly above the ground surface to prevent corrosion and make trimming easier.
If the terrain is uneven, you may need to cut sections of the mesh and adjust them individually to follow the shape of the ground.
Step 3 – Stretching the Mesh for Proper Tension
One of the most common mistakes in fence installation is failing to stretch the mesh tightly enough. Loose mesh can sag over time and reduce the overall strength of the fence.
To avoid this problem, attach the mesh firmly to the first corner post, then stretch it toward the next post while keeping the grid pattern straight. Professional installers often use a fence stretcher to apply even tension across the mesh surface.
Once the mesh is tight, secure it to each post using wire ties, metal clips, or fencing staples. Work gradually along the fence line until the entire section is attached.
Step 4 – Securing the Mesh to Each Post
After the mesh has been stretched properly, the next step is to fasten it securely to every fence post. Attach the mesh at several points along each post to distribute the tension evenly.
The most common fastening methods include metal clips, U-shaped fencing nails, and galvanized tie wire. Each method has its advantages, but the goal is always the same: ensuring the mesh remains firmly connected to the supporting structure.
At this stage, any excess wire can be trimmed using cutters. Sharp edges should be bent inward to prevent injuries during future maintenance.
Step 5 – Adding Additional Security Features
In some situations, welded mesh fencing alone may not provide enough protection. For example, farms located near wildlife areas or industrial sites that require higher security often add additional barriers.
A common solution is installing barbed wire along the top of the fence. This creates a deterrent that prevents animals or intruders from climbing over the structure.
Other projects may combine welded mesh panels with chain link fencing or heavier steel barriers to create a multi-layer security system.
Common Mistakes to Avoid During Installation
Even though welded mesh fencing is relatively simple to install, several common mistakes can reduce its lifespan or effectiveness.
One frequent error is placing fence posts too far apart. Wide spacing may save materials initially, but it often causes the mesh to sag or deform over time.
Another mistake is failing to tighten the mesh properly during installation. Loose mesh not only looks unprofessional but also becomes weaker under pressure.
Using low-quality wire or untreated steel components can also shorten the lifespan of the fence. Investing in high-quality galvanized materials usually saves money in the long term because the fence requires less maintenance and replacement.
Final Thoughts
A properly installed welded wire mesh fence can provide reliable protection for many years while remaining affordable and easy to maintain. Whether you are building a livestock enclosure, protecting a vegetable garden, or securing a construction site, this type of fencing offers a practical balance of strength, visibility, and durability.
The key to long-lasting performance lies in careful planning, using quality materials, and following proper installation techniques. When these factors are combined, welded mesh fencing becomes one of the most dependable solutions available for agricultural, residential, and industrial applications.
Related Posts

Post a Comment